


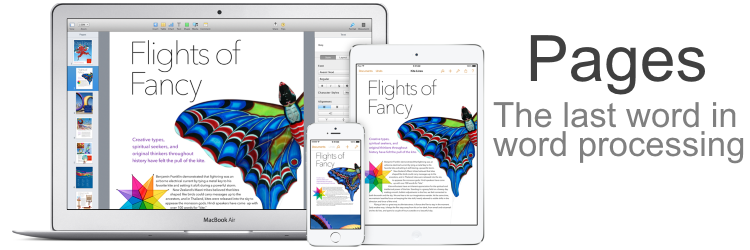
Create a newsletter template with customised images and text
One of the best things about Pages is that it’s incredibly adaptable. Whether you want to write a serious business proposal or make something a bit more fun like a birthday card or poster, you can do it all in a single, easy-to-use app that comes as part of your Mac’s productivity package. One of the things it does best is to enable you to design greatlooking pages before getting down to the nitty gritty of writing your text.
For example, you can easily create beautiful newsletters in just a few seconds, and then use them time and time again to create a monthly page that looks great. Here we’ll show you how to create and edit custom templates to use again in nine straightforward steps. What are you waiting for? Let’s get cracking!
Step-by-step: Make a newsletter in Pages
1 Shapes
First, create some basic shapes to form a layout of your design. These can show the size of columns, denote the location of images or show points for larger quotes to be placed.
2 Title
First, create a title. You can use a combination of shapes and fonts to get a personalised layout. Remember you can change the shape style and font in the Format menu.
3 Headers
Next, add your headers. For the opening page this can be an issue number, the date and introductory text. For subsequent pages, replace the text with the newsletter title.
4 Lines
Adding lines is a good way to make everything look well ordered, and it can also help you when trying to line up your text boxes and images to make everything look professional.
5 Text boxes
While you can type right onto the page, adding your text in text boxes will make laying out multiple columns easier, and will let you reposition text quickly and easily.
6 Placeholder images
To finish off your template, just add in some placeholder images. Any photo will do, but set up the right border, angle and wrapping options so you’ll only need to add a new photo later on.
7 Wrapping options
When you’re working with multiple shapes, images and text boxes, wrapping options become an issue. You can set no wrapping, or customise settings, in the Format menu.
8 Boxes and fonts
Remember that you can customise all your shapes and fonts in a number of ways. Select an item in your document, hit Format and select colours, sizes and more to fit your page.
9 Extra pages
You can create extra pages in the same document, or hit the Documents button in the top-left and start a new document for the subsequent pages in your template.

No Comment